How to install a TV wall bracket – A guide for DIYers
There are many things to take into consideration when planning to install a TV wall mount.
With careful preparation, the installation of a wall mount for your flat screen TV is an easy DIY project that can save you money.
Here’s what you need to know before getting started.
Install yourself or hire a professional?
Before you start drilling holes in your wall, you should stop to consider whether you would be better off hiring an approved installer. A professional can install your TV wall mount in minutes and the cost should be quite reasonable. The standard of work will be high and you can spend your time doing something else.
If you’re sure that you want to install your own bracket, then read on.
Size and Weight
The size of TV screen you have and the TV’s weight must be taken into account when planning to install a TV mount.
If you are instilling a new TV check the TV manual to find the TV’s exact measurements and weight.
Measure the width of your TV before looking for a compatible bracket. Generally, the larger the screen size, the heavier it will be – meaning you’ll need an appropriate sturdy mount to hold it in place.
Smaller TV’s tend to be lighter weight and will require a smaller TV mount, whereas larger units may require multiple brackets for the best support.
Your TV must be supported securely by the bracket.
It is important that you buy a wall plate that is compatible with your TV size and weight. This part of the mount will bear most of the load, so it needs to be strong enough to keep your television securely mounted to the wall.
Distance from the wall
You should also check how close to the wall the TV will fit when mounted as this will affect where you need to drill for mounting screws.
It’s a good idea to leave some space behind the TV for wires and cables.
Positioning
Deciding where to position the TV mount on the wall is important. You’ll need to make sure it’s at eye level, at a good viewing distance and secure.
Also consider what type of studs you have in your walls as this will determine if you can mount the bracket securely into them or not.
Another thing to ensure is that there are plug holes nearby for the TV and any other devices to plug into.
Wall Types
You will need to check the type of wall you will be mounting your TV onto, for example a brick wall will need different fixings to a Plasterboard wall.
Types of Wall Mounts
There are also different mounts available such as:
- A Tilting mount, which allows you to tilt the TV forward and back to get the best viewing angle.
- A Flat mount, which keeps the TV in a fixed position close to the wall.
- A Full Motions/Articulating mount, which allows you to move your TV in multiple directions for maximum flexibility.
VESA standards
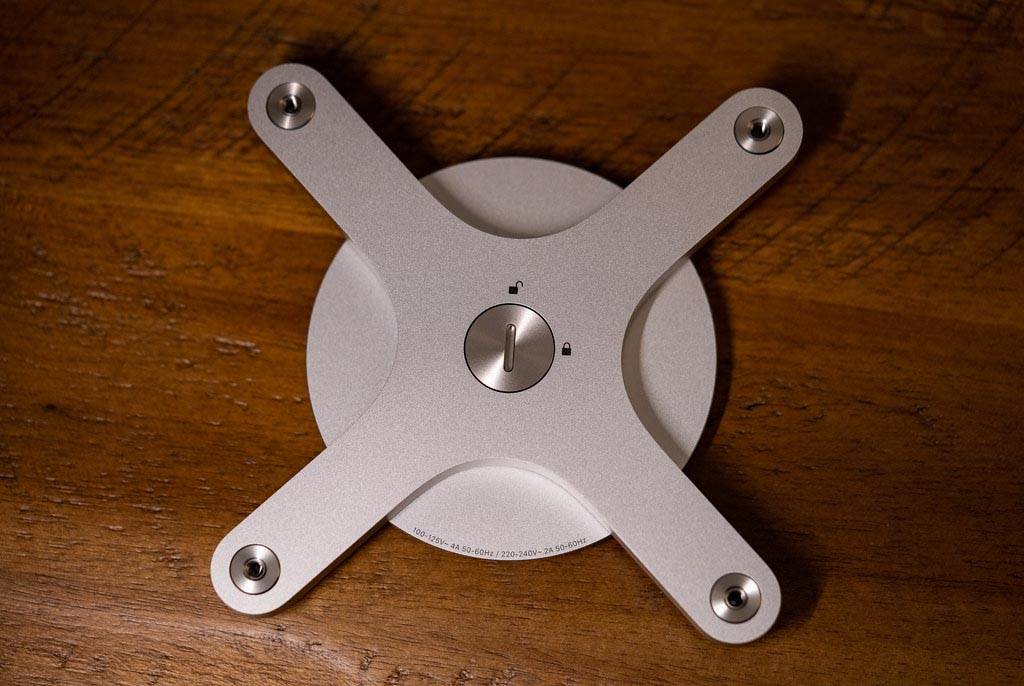
The VESA standards (Video Electronics Standards Association) ensure that your TV will fit the wall mount you buy.

Check to make sure that the VESA measurements on your bracket match the measurements of your TV. This is usually found in the TV manual or online.
This helps you find a good compatible mount for your TV.
Non-VESA TV brackets
Several television companies do not follow VESA standards.
You may need to buy a specific wall mount for these sets. Check your manual for compatibility or contact the TV manufacturer to find out about compatible mounting solutions.
Safety First!
It is essential that you place your wall mount properly and use the right fixings to ensure it’s secure and won’t result in any harm.
Please always compare the weight of the television mount with the weight of that mounting.
How to hide TV cables and wires
The last thing you need to consider when you’re mounting your television on your wall will be cable management.
The way you hide them varies depending largely on personal preferences.
One of the most common ways to hide cables is by running them along the wall.
You can attach your cables to existing cable channels or feed them into a thin conduit that you paint to match your wall colour.
Another way is to use cable covers, which are designed specifically for this purpose and allow you to run cables through the wall without drilling any holes.
What Tools do you need?
To start your installation you will need the following tools:
- Power Drill
- Screwdriver
- Tape Measure
- Screws
- Wall Plugs
- Spirit Level
- Stud Finder (If mounting onto plasterboard)
- Pencil or Marker pen or masking tape
Once you have purchased your TV mount, and ensured you have all the necessary tools and equipment it is time to begin installation process.
Here is our Step by Step guide:
Step 1 – Stud Finder
Before beginning the installation process, you will need to locate any wall studs that may be behind your television. To do this, you’ll need a stud finder.
A stud finder is a tool available at most hardware stores and can help you identify the location of wall studs.
Step 2 – Drilling Pilot Holes
Once you have determined the locations of your wall studs, you’ll need to drill pilot holes into the walls for mounting.
Using a drill with a masonry bit, slowly bore holes in the places that mark where the screws will be secure.
Take care not to drill too deep as this could cause damage to electrical wiring or plumbing behind the wall.
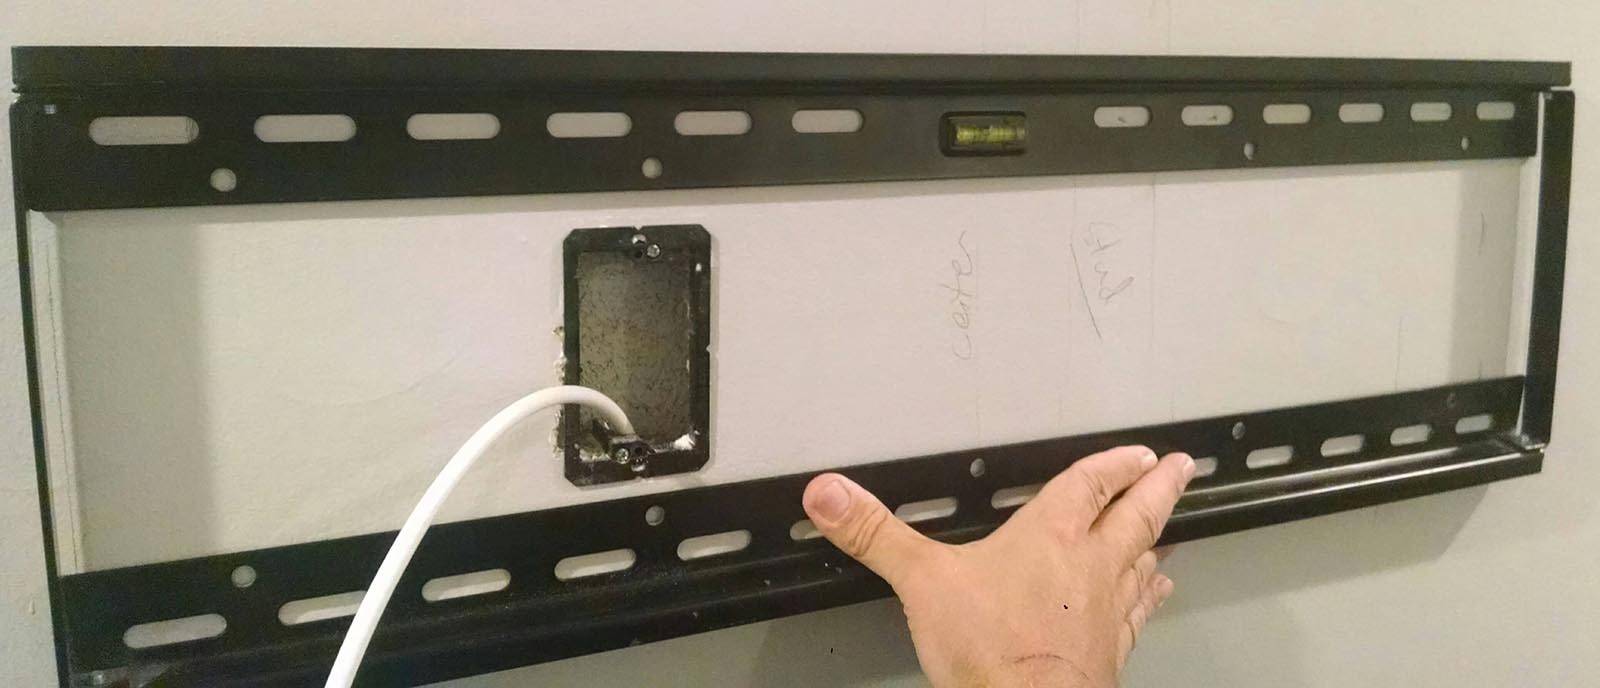
Step 3 – Mount the Bracket
When drilling is complete, you can now mount the TV bracket to your wall.
Mounting holes in the bracket should match up with the pilot holes you have just drilled.

Using the screws provided, secure the bracket to the wall. Use a spirit level to check that it is straight before tightening all of the screws securely.
Be sure that all screws are properly tightened and there are no gaps between the bracket and wall surface.
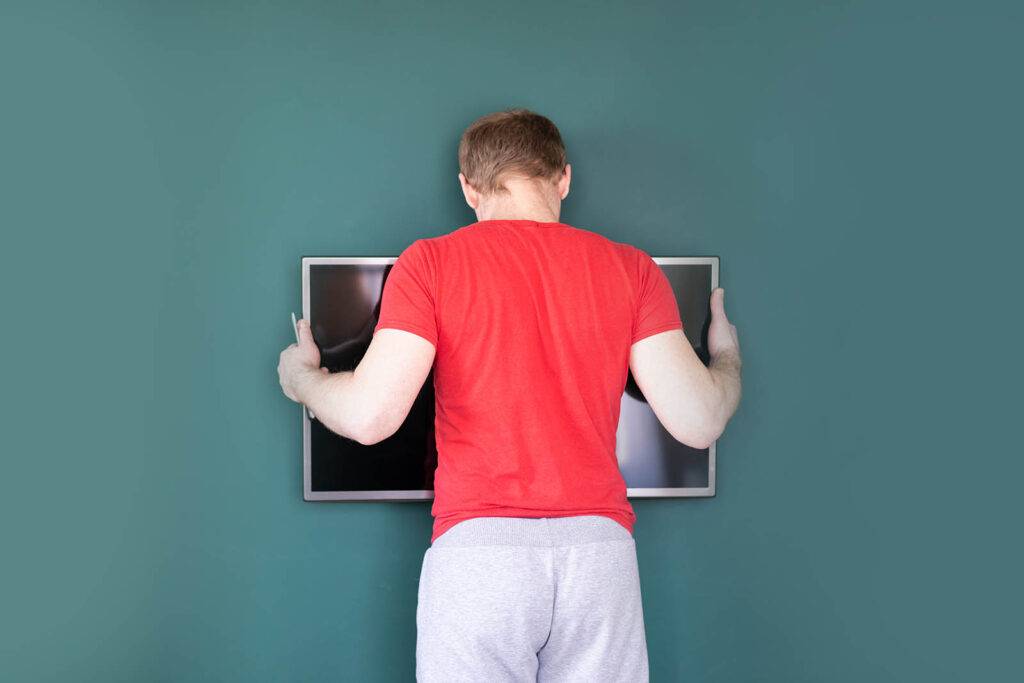
Step 4 – Secure Your TV
Once the bracket is secure, gently place your TV onto the mount and make sure it fits snugly and securely.
Use the appropriate screws to attach your television to the wall mount bracket.
Firmly attach all screws into the screw holes and check the position of the TV on the wall is perfectly level and at eye level .
Step 5 – Connect the Cables
Once your TV has been mounted, now it’s time to connect the cables.
Plug in the power and any other necessary cables such as HDMI, audio or a coaxial cable to your rooftop TV aerial.
You can use cable ties to help keep all of your wires neat and tidy.
Now you have completed the installation process, you can sit back, relax and enjoy your newly mounted TV.
5 Top Tips for Installing TV wall mounts:
- Measure and Mark – Carefully measure the position where you wish to mount your TV bracket onto the wall. Use a spirit level to ensure it is level and then mark these positions with either masking tape or a marker pen.
- Cables – Be aware of any cables and wires that needs to connect to your TV. Ensure these can reach from behind the tv to their respective sockets .
- Mount the Bracket – Hold your bracket against the wall and mark where the holes for screws need to go. Using your drill, attach the bracket to wall with appropriate fixings for your type of wall (e.g plasterboard requires different fixings to brick).
- Spirit Level – Make sure you use a spirit level to ensure the bracket is perfectly level and the TV is straight.
- Attach the TV to the Bracket – Using the screws provided, attach your TV to the TV mount ensuring its secure and level.
- Connect Power and Cables -Connect any cables and power cords before testing your TV and ensure your picture quality is optimal.
Following these steps, should help you when installing your wall bracket.
Once you should have a securely installed TV wall mount , you can enjoy your newly wall mounted TV.

We recommend testing the mount periodically to ensure it remains secure and there are no loose screws or fixings.
If at any point you find that something isn’t quite right with your wall mount, then please contact a professional installer for assistance.
Doing so will help ensure a safe and secure installation.
Thanks for taking the time to use our DIY guide on TV wall mounting.
We hope you found it useful and that your TV is now securely mounted! Enjoy!

